How to personalize your site based on marketing campaigns
If you're reading this, you probably already have a well-structured marketing campaign strategy, segmenting users and showing different ads for each one. If so, why don't you do the same with your website's content?
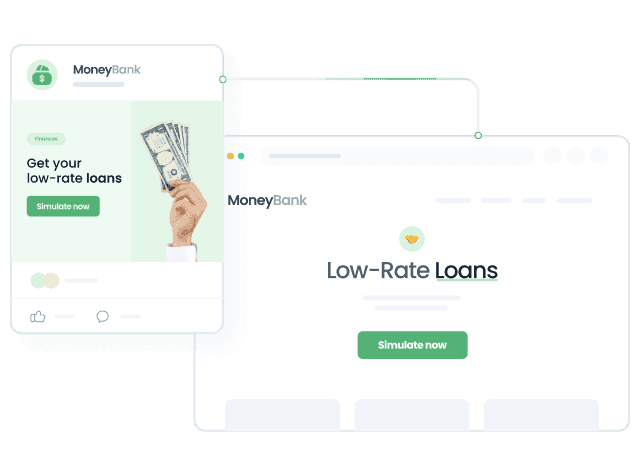
By using personalized content based on the ad the user clicked, you can deliver consistent, targeted messaging that reflects the offers users first saw, improving engagement and conversions without creating multiple landing pages.
This article is a how-to guide to help you personalize your website based on marketing campaigns. Follow this step-by-step playbook to implement this strategy effectively.
If you are a developer, you can use our template for SaaS or E-commerce through our CLI instead of configuring this manually on the interface.
Our platform makes personalization based on marketing campaigns a breeze so you can increase conversions.

How to create a personalized experience based on the marketing campaign
Creating an experience is as easy as defining which users you want to impact, what part of your website you want to change, and the personalized content you want to show them.
Start by heading to Experiences, click New, and choose a name for your experience. Now, we'll show you how to:
- Segment users based on specific campaign attributes
- Select the slot you want to personalize
- And define which content you’ll display to users coming from a specific campaign.
Audience
With Croct, you can use our Contextual Query Language (CQL) to define audience criteria. It is an English-based language that combines the simplicity of natural language with an intuitive syntax that makes it easy for both technical and non-technical users.
With Croct, you can use the UTM parameters in your marketing campaigns (medium, source, campaign name, or term) to identify where the user is coming from. It is also possible to add two or more campaigns to the same audience using or, and, starts with, ends with, or matches.
Click on New audience and enter a CQL expression that matches the target audience, like this:
campaign's source is "google"campaign's name matches "sale"user has viewed a campaign with term like "personalization" in the last 30 daysSlot and content
Slots are any personalizable elements of your application.
Some popular choices are the hero section, product cards, and subscription plan cards. Still, you can also personalize any page section to include targeted information.
Select the slot you want to personalize, and finally, click on Content to specify elements such as images, copies, and button colors you want your audience to view. Be creative, and don’t forget to match the offer you’ve shown users on your ads.
Extra options
Besides creating an audience, choosing the slot, and defining the content, you can also prioritize this experience over others, choose a different time zone, and schedule its start to whenever you prefer.
Next, publish your experience or go to the preview to see the magic happen! ✨
What's next?
Personalizing your website based on marketing campaigns helps maintain consistent messaging, capture user attention, and increase conversions.
Use campaign tracking to tailor content and explore other personalization strategies, such as targeting organic search visitors. Start using these techniques with our platform to increase your conversion, reduce your CAC, optimize your marketing results.
Need more inspiration? Browse other playbooks and check some personalization ideas for e-commerce or SaaS.
Happy personalization!